
Centrifuges
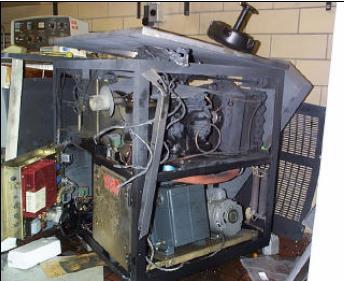
Centrifuges generate a lot of energy and can walk off the counter, launch projectiles, and spray aerosols if not operated correctly. Even the low speed centrifuges go fast enough to pose dangers. Mechanical hazards can include stress to the rotor metal, fatigue, corrosion, and appropriate tube selection and it is normally one of these things, or an improperly balanced load, that lead to accidents involving centrifuges. Hazardous materials can include biological materials and chemicals, which present additional aerosol and exposure risks.
Be Prepared
Read the operator manual for each centrifuge you operate – it has specific information about how to maintain that model. Older models do not have all the safety features built into the new ones and the consequences of a failure can be more problematic.
Double-Check Equipment
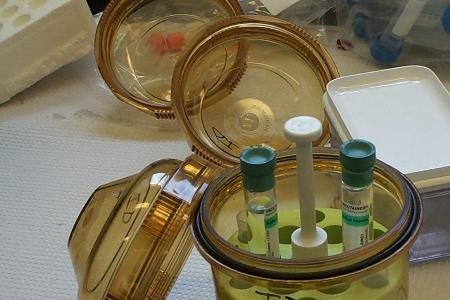
Check that the rotor is compatible with your centrifuge, avoid incompatible chemicals, use proper tubes, and fill tubes to the proper level. Is It Sealed? The use of secondary containment (sealed safety cups or buckets), gasketed lids, and O-ring gasketed screw top tubes for your samples all increase safety in the event of an accident inside the centrifuge. When operating the centrifuge, use a log (especially for an ultracentrifuge) to track use and stick around to watch for signs of an improperly loaded centrifuge.
Properly Load and Unload Samples
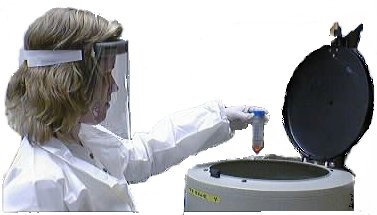
When working with potentially infectious materials, use a biosafety cabinet to load and unload your tubes in the rotor/safety cups where practical, inspect all equipment for wear & tear, verify that tubes are properly balanced, and secure the seating of your samples.

Use Your Senses
If you detect smells, sounds, small vibrations, anything that concerns you…
- Stop run immediately and check for error codes first! Know what the code is before opening lid.
- Turn off the equipment
- Notify your supervisor and seek the help of an experienced colleague
- Do not open lid until fully stopped and allowed to rest for at least 30 minutes (which allows most aerosols to settle)
Cleaning Up a Spill
Review the GBP for Responding to Biological Spills for general guidance. After letting the centrifuge rest for 30 minutes, 1) don your PPE, 2) use tongs to handle sharps, 3) remove sealed buckets and place in BSC, 4) disassemble and place other affected parts in disinfectant in BSC, 5) recover samples in BSC, 6) disinfect the bowl (if affected), 7) and follow all waste management guidelines for equipment and PPE.
Things to Avoid
- Do not use abrasives or corrosive detergents
- Do not scratch the surface of your rotor, bucket, tubes, etc.
- Do not leave the rotor wet
- Do not neglect your centrifuge…keep up that maintenance plan!
More Information
Visit the EHS Biosafety Manual Section 2.1.12 for more information on centrifuges