
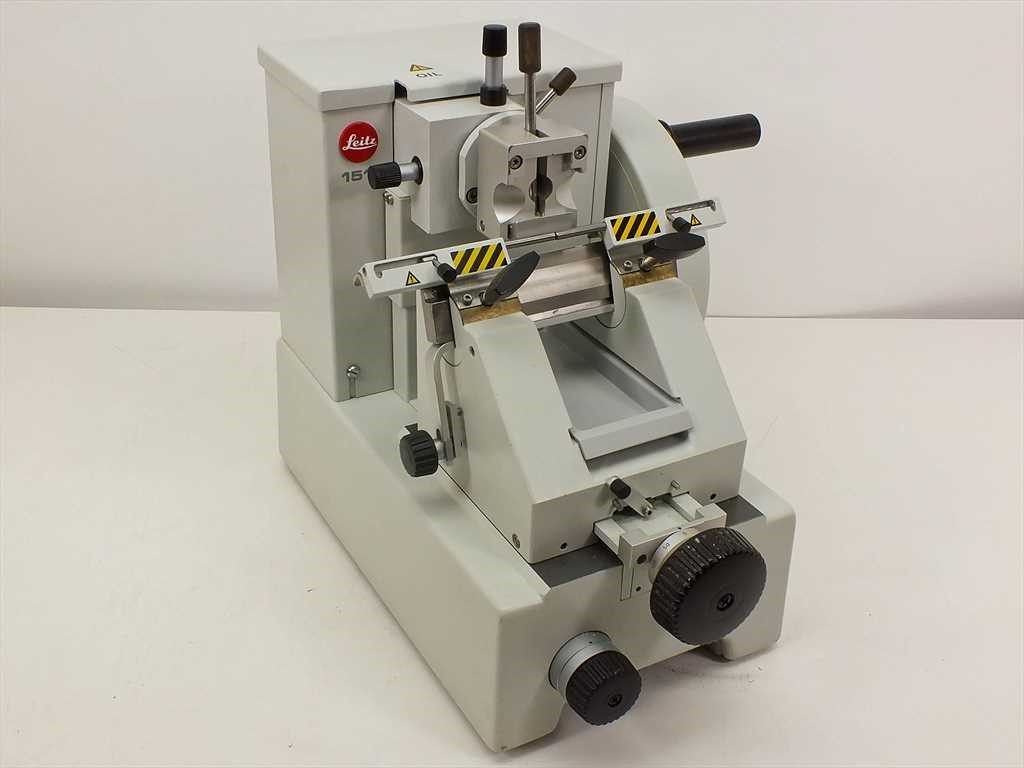
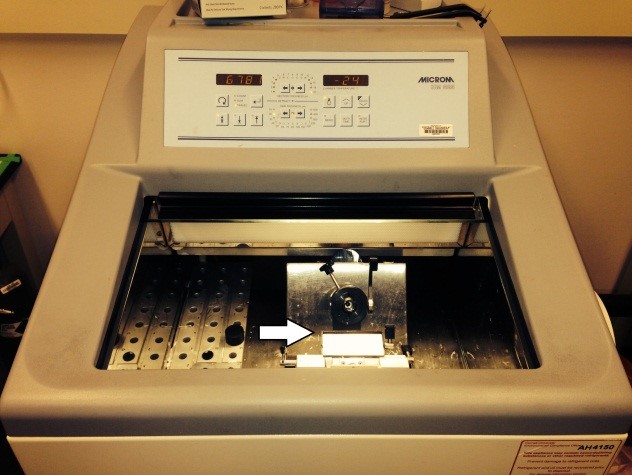
Microtomes and Cryostats
Histology specimen preparation using microtomes or cryostats involves handling very sharp blades, posing a significant risk of injury. Additionally, working with unfixed biohazardous samples increases the risk of exposure to infectious materials. Proper preparation, handling, and sanitation practices are essential to minimize these risks.
Be Prepared
Read the operator manual for the microtome or cryostat and request training from your principal investigator, lab manager, or a colleague who has experience using the equipment. Ensure you know whether your sample is fixed or unfixed and be aware of any biohazardous agents it may contain.
Properly Load and Unload Samples
Ensure samples are properly trimmed before mounting them onto the stage. Cover the blade using the provided finger guards or a protective foam guard during mounting and removal of samples. Always use forceps to remove the blade and wear a combination of nitrile gloves over cut-resistant gloves for added protection.
Perform Routine Sanitation
Always clean the equipment between users and at the end of each session. Cryostats are harder to disinfect due to the cold environment, which can cause disinfectants to build up on the knife. It is best to finish your session, then perform a comprehensive decontamination by removing the stage and allowing it to come to room temperature before cleaning. Ensure it dries completely before returning it to the cryostat.
Cleaning the Microtome or Cryostat
When cleaning a microtome or cryostat, it is essential to wear the appropriate personal protective equipment (PPE), including a lab coat, safety goggles or a face shield, and a combination of nitrile gloves over cut-resistant gloves for added protection.
First, put on your protective equipment. Use forceps to carefully remove the knife. Discard used knives directly into a sharps container. If you plan to reuse the knife, place it in a container of disinfectant to soak, ensuring it has complete contact time with the disinfectant. After soaking, use forceps and a handled brush to remove any residue, followed by a thorough water rinse.
Next, use forceps to remove stray shavings from the interior of the microtome and place them in a biohazard bag. Soak the interior components with disinfectant applied via a squirt bottle. Use a cloth, manipulated with forceps where possible, to scrub and decontaminate the surfaces. For hard-to-reach areas, use a handled brush and wear facial protection to prevent splatter.
Finally, soak up any residual disinfectant and rinse the components with 95% ethanol. Allow the equipment to air dry completely before using it again. This thorough cleaning routine ensures that the microtome or cryostat remains safe and effective for future use.
Note on Bleach
While 10% bleach followed by rinses with 70% ethanol is effective, it can be corrosive. Evaluate the biohazardous agents present in your samples and consider using a less corrosive disinfectant when possible.
Things to Avoid
- Do not leave the blade exposed during sample loading and unloading to prevent injuries. Always cover the blade.
- Do not handle the blade with unprotected hands. Always use forceps and wear gloves.
- Do not skip wearing PPE. Gloves can minimize or possibly prevent cuts and lacerations.
General Safety Measures
Ensure the work area is well-lit, organized, and free of clutter to minimize the risk of accidents. Clearly communicate with colleagues when you are working with sharp instruments to avoid unexpected interruptions. Be familiar with emergency procedures, including the location of first aid kits, eyewash stations, and emergency contact numbers.
Microtome and Cryostat Specific Practices
- Blade Disposal: Use designated containers for sharps disposal and replace them before they become full. Blade Storage: Store unused blades in a secure, designated area to prevent accidental contact.
- Proper Fixation: Ensure samples are adequately fixed to minimize the risk of exposure to biohazardous agents. Labeling: Clearly label samples with relevant information, including fixation status and biohazard level.
- Regular Inspections: Regularly inspect the microtome or cryostat to ensure they are in good working condition. Report any defects or malfunctions immediately to your supervisor.
- Blade Sharpness: Regularly check the sharpness of blades and replace them when they become dull to ensure clean cuts and reduce the risk of accidents.
- Proper Posture: Maintain proper posture and adjust the equipment height as needed to avoid strain and fatigue.
- Breaks: Take regular breaks to prevent repetitive strain injuries.
Documentation and Training
Develop detailed Standard Operating Procedures (SOPs) for using microtomes and cryostats, including safety protocols and cleaning procedures. Review and update SOPs regularly to incorporate new safety guidelines and best practices. Provide periodic refresher courses on equipment use, safety protocols, and emergency procedures. Document training and SOP revision.
More Information
For additional guidance on microtomes, review the Biosafety Manual Section 2.1.12